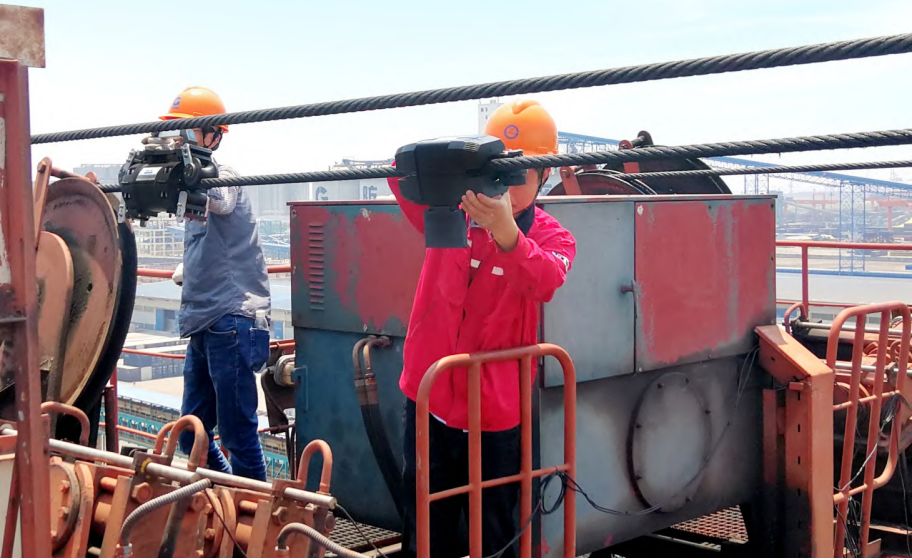
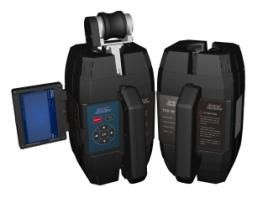
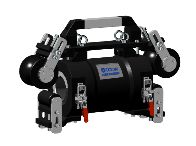
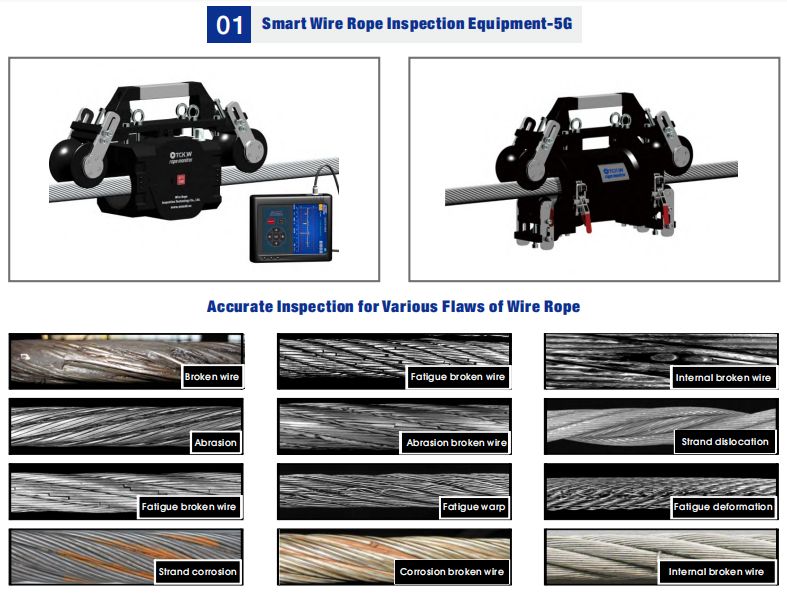
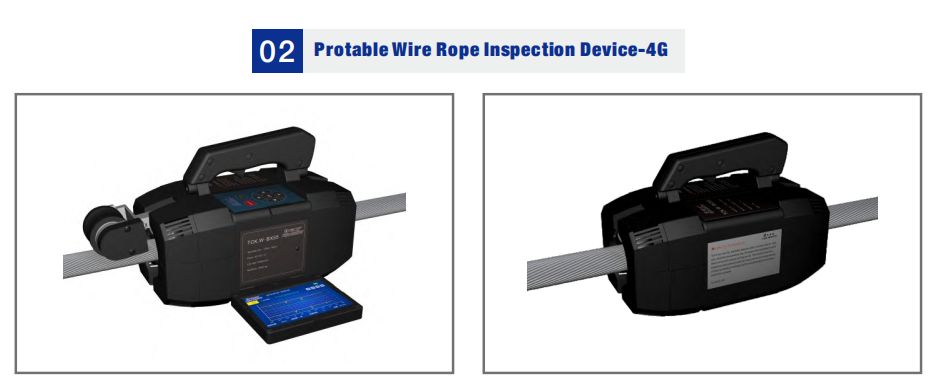
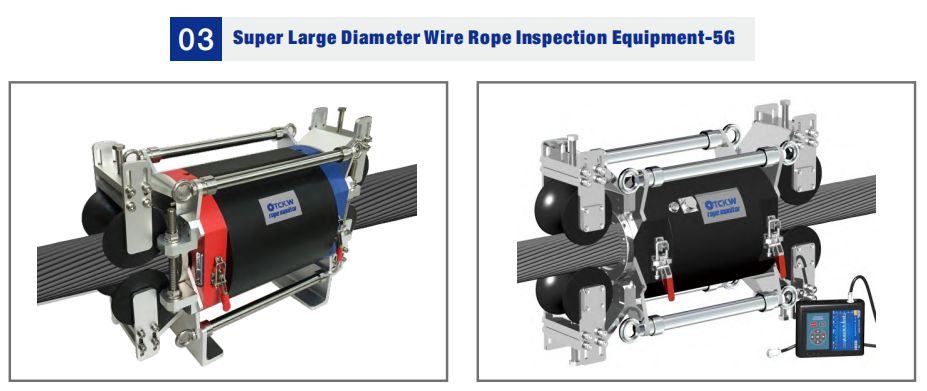
RC-GSS inspection instruments was developed upon a brand-new innovative technology. During operation you should not make overly simply the conclusion when test result does not match your estimation. RC-GSS has compiled The Frequently Asked Questions and their Solutions, which will provide some supports for your inspection. If you still have some abnormal or difficult problems, please contact our distributors or call at 0086-68386566 (International Service Line), who will provide you friendly technical supports and services and ensure you experience safe, reliability, convenience and high efficiency by using RC-GSS inspection instruments.
Principle
According to the formula of wire rope bearing capacity, metallic cross-sectional area is the basic variable that affects the bearing capacity of in-service wire ropes. For a new rope or a rope in good condition, its metallic cross-sectional area and safe bearing capacity are positively correlated. Accordingly, the technical principle for RC-GSS inspection instruments is to find a standard value of the target rope’s metallic cross-sectional area, and then use this value as the reference for detecting and evaluating the variances of metallic cross-sectional area of the whole target rope. The purpose is to find the rope’s largest value of loss of metallic cross-sectional area. By comparing the detected values with this reference value, it achieves quantitative evaluation of the target rope’s safety status.
Technical Parameters
Inspection function: quantitative inspection on broken wires,abrasion, corrosion and fatigue.
2.LMA of Inspection uncertainty :≤士1%3.Flaw positioning accuracy: >99%
4.Automatic bench marking function: adapt to bench marking for varied wire rope and automatic bench marking once on single point location without need to benchmark at multiple positions for multiple times.
5.Self-diagnosis function: have self-diagnosis function for sensor property, communication modular, storage modular , AD/DA modular and remaining capacity.
6.Emergency unlock of device: personnel and device can be guaranteed by withdrawing rapidly with unlock time<1 second;7.Operation model: equipped with wide color touch screen and key pad with key membrane. Support dual mode operation.8. Display function: wide color touch screen to display inspection curve during inspection.
9.Retrieval function: can retrieve inspection content on real-time through touch screen, including current curve of wire rope, flaw position, flaw quantity list. Historic inspection data can also be retrieved.10.Report function: By connecting with computer through Wi-Fi,inspection report can be printed out instantly.Can also print inspection report of any historic point whenever necessary. Inspection report is automatically generated by software and easy to be read and interpreted.
11 . Magnetic memory regulation device: self- contained unit with function of regulating memorized magnetic field . Memorized magnetic field can be maintained forever if no external interference.12.Inspection device: self- contained unit with non-contact weak
magnetic sensor array. Can collect magnetic energy potential differential information in wire rope and analyze quantitatively without connecting external operation system.
13. Data storage: 64G Class 10 high speed flash memory can support
saving maximum 50,000 meters long wire rope for single inspection.Storage supports saving 1 ,000 inspections for 10,000 meter/time.14.Passing-through capability: air gap between sensor and wire rope:
10-30mm
15. Inspection speed: O-3m/s.Not affected by surface warp, oil and
deformation.
16.Data transmission : Wifi trans mission or USB transmission.17.Sensitivity of sensor: 1 .5V/mT
18.Electric magnetic sensing signal-to-noise ratip: S/N>85dB19.Maximum Sampling rate: 1024 times/m
20.Rated working voltage:Power supply by Lithium battery, DC7.4V21 .Continuous operation hours of battery: ≥6hours
22.Ingress protection:IP53
23.Working environment: -20℃-+55℃; RH 95%
